How to Open a Smoke Alarm to Change the Battery
Smoke alarms are crucial for home safety, alerting you to potential fires and giving you precious time to respond. Regular maintenance, including changing the batteries, is essential to ensure your smoke alarms function properly and keep your home secure.
In this article, we’ll walk you through the steps to open a smoke alarm to change the battery, addressing common issues such as how to stop a smoke detector from chirping and how to remove the battery from a smoke alarm that’s still chirping. We’ll also discuss the importance of integrating smoke alarm maintenance into your overall home upkeep routine.
Effective smoke alarm maintenance is a key part of interior home maintenance and preventative home maintenance. Properly maintaining your smoke alarms helps prevent costly repairs and ensures that your home remains safe. This aligns with other important home care tasks, such as gutter cleaning, pressure washing, window washing, and dryer vent cleaning.
Let’s dive into the essential steps for maintaining your smoke alarms to keep your home safe and secure.
How to Open a Smoke Alarm Battery Cover
Changing the battery in your smoke alarm is a simple but crucial task. Here’s a step-by-step guide on how to open the battery cover to ensure your smoke alarm is always ready to protect your home.
Locate the Battery Cover
- Identify the Battery Cover: Most smoke alarms have a battery cover on the side or the back of the unit. The cover is typically labeled or has a small tab for easy access.
- Check the Alarm Type: Different smoke alarms have different battery cover designs. Some may have a slide or twist-off cover, while others may require pressing a latch or button.
Open the Battery Cover
- Slide or Twist Off the Cover: Depending on your smoke alarm model, you may need to slide or twist the battery cover to open it. Use gentle pressure to avoid damaging the cover.
- Press the Latch: For models with a latch, press the latch and lift the cover off. This is often a spring-loaded mechanism that requires minimal force.
- Remove the Cover: Carefully remove the cover and set it aside. Ensure you are in a well-lit area to easily access the battery compartment.
Visual and Physical Checks
- Inspect the Compartment: Once the cover is removed, check the battery compartment for any signs of corrosion or damage. This is important for maintaining the effectiveness of your smoke alarm.
- Clean the Area: If you notice any dust or debris, clean the area with a soft, dry cloth. Dust can interfere with the smoke alarm’s sensors and affect its performance.
Replace the Battery
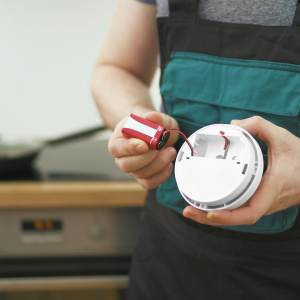
- Remove the Old Battery: Take out the old battery by gently lifting it from the compartment. Note the orientation of the battery to ensure you place the new one correctly.
- Insert the New Battery: Place the new battery into the compartment, making sure it is oriented correctly according to the plus (+) and minus (–) symbols.
Reattach the Cover
- Secure the Cover: Once the new battery is in place, reattach the battery cover by sliding or twisting it back into position, or pressing the latch to secure it.
- Check the Fit: Ensure the cover is firmly in place and that there are no gaps.
Regular maintenance of your smoke alarms is a key aspect of interior home maintenance and preventative home maintenance. By incorporating this task into your routine, you help ensure that your smoke alarms remain functional and reliable. Remember, effective home safety includes not only regular battery changes but also other home maintenance tasks like gutter cleaning, pressure washing, window washing, and dryer vent cleaning.
How to Remove a Smoke Alarm to Replace a Battery
When it’s time to replace the battery in a smoke alarm, you may need to remove the entire unit from its mount. Follow these steps to safely remove the smoke alarm and replace the battery:
Disengage the Smoke Alarm
- Turn Off Power (for Hardwired Alarms): If your smoke alarm is hardwired, turn off the power at the circuit breaker before attempting to remove it. This ensures safety while handling the unit.
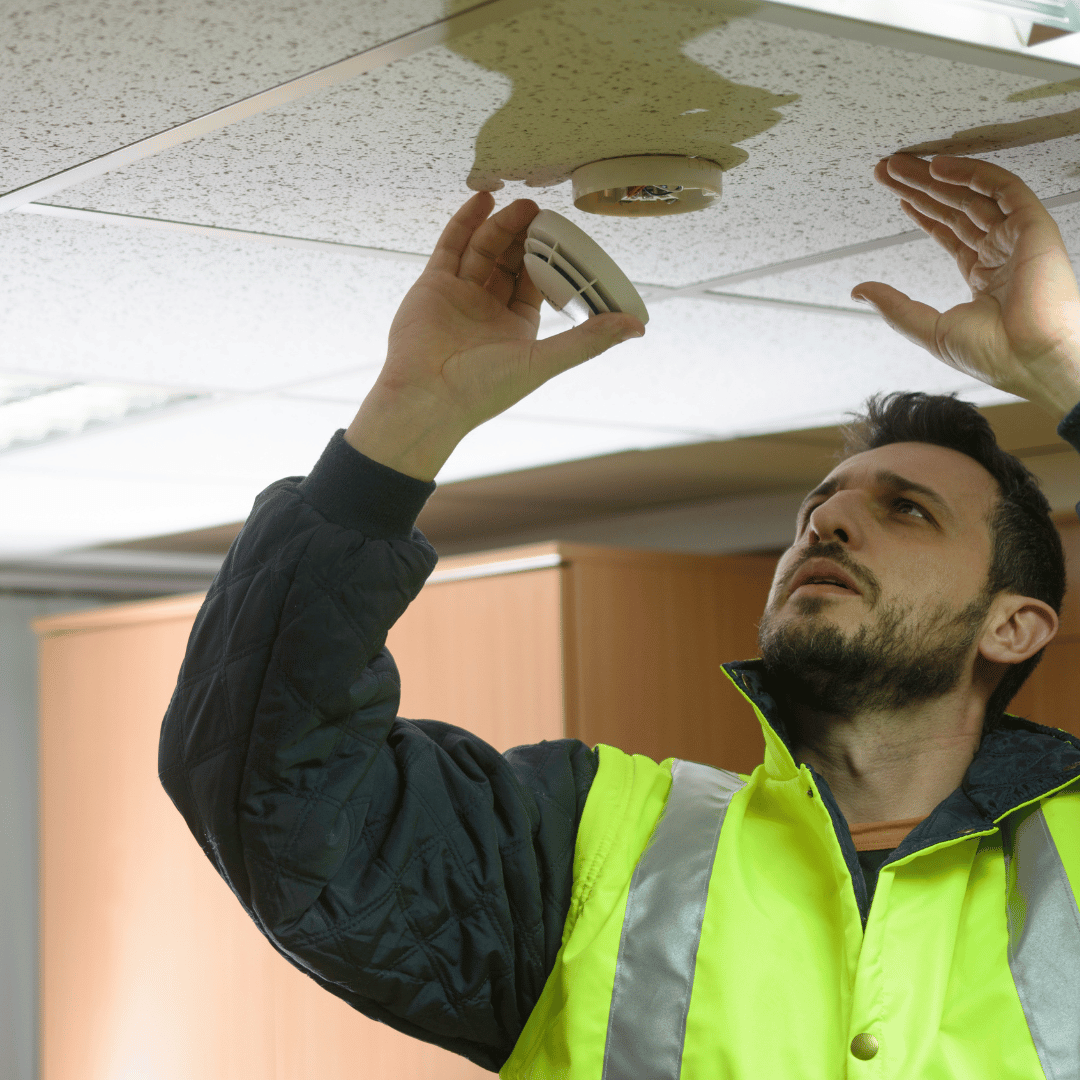
- Twist or Unclip the Smoke Alarm: Most smoke alarms are mounted on a base that attaches to the ceiling or wall. To remove the unit, either twist it counterclockwise or unclip it from the mounting bracket. Apply gentle pressure to avoid damaging the alarm or the mount.
Disconnect the Power Source
- Unplug the Connector (for Hardwired Alarms): If your smoke alarm is hardwired, disconnect the power by unplugging the connector. This is usually a simple plug-in connection, but make sure to handle it carefully.
- Remove the Battery (for Battery-Powered Alarms): For battery-powered smoke alarms, skip this step as there’s no need to disconnect power. Simply proceed to the next step to open the battery cover.
Access the Battery Compartment
- Locate the Battery Compartment: Once the smoke alarm is removed from its mount, locate the battery compartment. This is usually on the back of the unit and may require opening a cover or releasing a latch.
- Open the Battery Compartment: Follow the instructions for opening the battery cover as described in Section 2. Remove the old battery and replace it with a new one.
Reinstall the Smoke Alarm
- Reattach the Battery Cover: After replacing the battery, secure the battery compartment cover.
- Reconnect the Power Source: For hardwired alarms, plug the connector back in to restore the power. Make sure it is securely connected.
- Mount the Smoke Alarm: Position the smoke alarm back onto its mounting bracket or base. Twist or clip it into place, ensuring it is firmly attached and level.
Test the Smoke Alarm
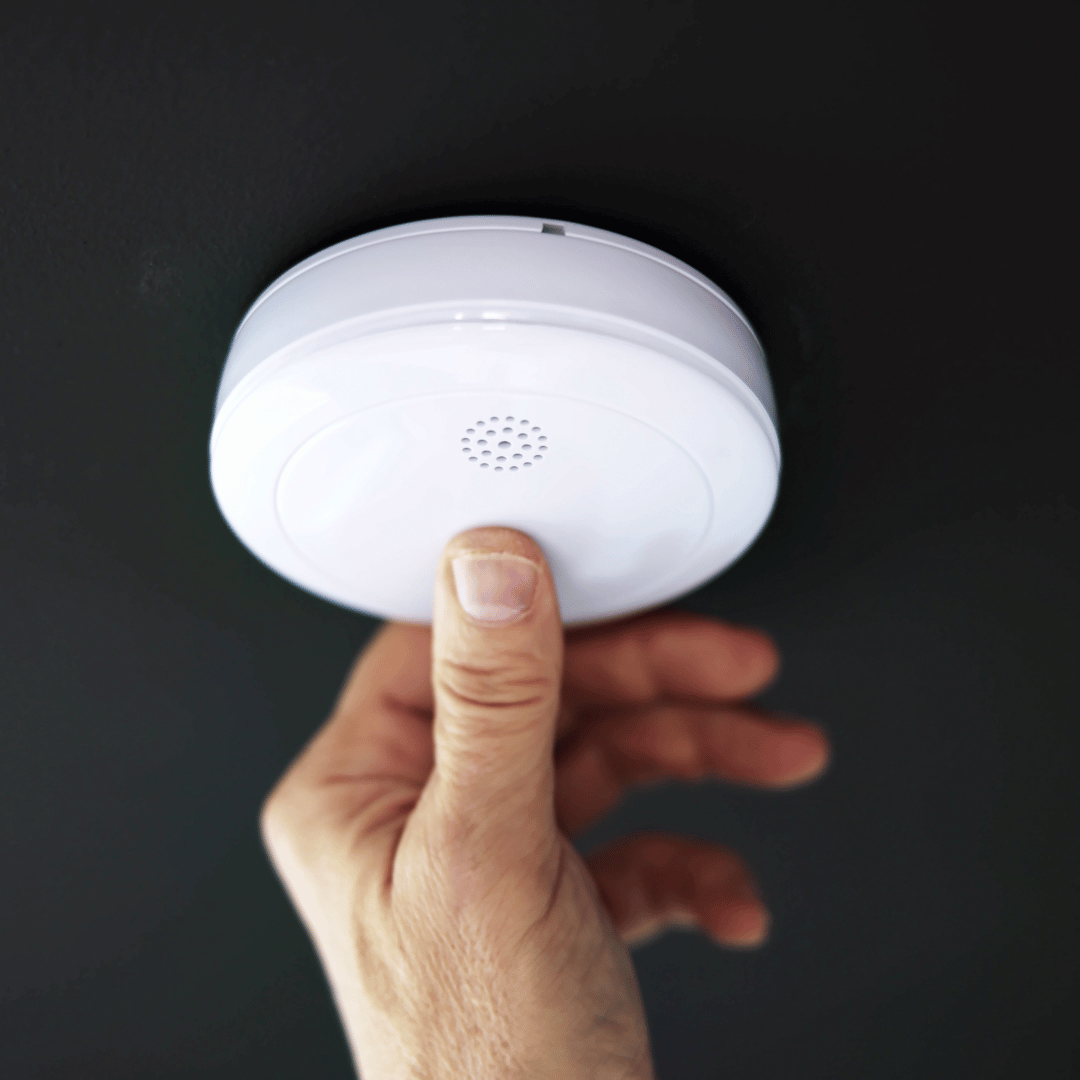
- Check Functionality: Press the test button on the smoke alarm to ensure it is functioning properly. You should hear the alarm sound if it is working correctly.
- Verify Installation: Ensure that the smoke alarm is securely mounted and that there are no gaps between the unit and the wall or ceiling.
Removing and replacing the battery in your smoke alarm is a vital part of interior home maintenance and preventative home maintenance. Regular maintenance helps ensure that your smoke alarms are always ready to protect your home. This task complements other essential home maintenance activities, such as gutter cleaning, pressure washing, window washing, and dryer vent cleaning. By keeping up with these tasks, you help maintain a safe and well-functioning home environment.
How to Remove the Cover on a Smoke Detector
Removing the cover of a smoke detector is a key step in accessing the battery and performing necessary maintenance. Here’s a detailed guide on how to properly remove the cover to ensure your smoke detector remains in top working condition.
Identify the Cover Type
- Determine the Cover Design: Smoke detector covers come in various designs, including twist-off, slide-off, and hinged covers. Identifying the type of cover your smoke detector has will help you understand the best way to remove it.
- Consult the Manual: If unsure about the cover design, refer to the smoke detector’s manual for specific instructions on how to remove the cover.
Remove the Cover
- Twist-Off Covers:
- Locate the Twist Mechanism: Most twist-off covers will have small notches or grooves around the edge.
- Twist Counterclockwise: Gently twist the cover counterclockwise until it loosens and comes off. Apply even pressure to avoid damaging the cover or the smoke detector.
- Slide-Off Covers:
- Find the Sliding Mechanism: Some covers have a sliding latch or groove that allows the cover to slide off.
- Slide the Cover: Slide the cover in the direction indicated by the arrows or as per the manual’s instructions. Ensure you’re sliding it along the correct path to avoid any damage.
- Hinged Covers:
- Locate the Hinge: Hinged covers will have a small hinge or latch on one side.
- Open the Hinge: Gently lift the cover using the hinge mechanism. This will give you access to the battery and other internal components.
Handling the Cover
- Place the Cover Safely: After removing the cover, place it in a safe location to prevent it from being damaged or lost.
- Inspect the Cover: Check the cover for any dust, dirt, or damage. Clean it if necessary with a soft cloth to ensure proper air flow and sensor functionality.
Access the Battery Compartment
- Open the Battery Compartment: With the cover removed, you should now have access to the battery compartment. Follow the instructions from Section 2 to replace the battery as needed.
- Replace or Reinstall the Battery: Install a new battery if required and ensure it is properly seated in the compartment.
Reattach the Cover
- Secure the Cover: Once the battery is replaced, reattach the cover by reversing the removal process. Twist, slide, or hinge it back into place, ensuring it is securely fastened.
- Check the Fit: Ensure that the cover is firmly in place and that there are no gaps around the edges.
Proper maintenance of your smoke detector, including removing and cleaning the cover, is an important aspect of interior home maintenance and preventative home maintenance. Regular upkeep ensures that your smoke detectors remain functional and effective. This task aligns with other home maintenance practices, such as gutter cleaning, pressure washing, window washing, and dryer vent cleaning, all of which contribute to a safe and well-maintained home environment.
How to Stop a Smoke Detector from Chirping
A chirping smoke detector often indicates that the battery needs to be replaced or that there’s another issue with the device. Here’s a guide to help you identify and resolve the problem:
Identify the Cause of Chirping
- Low Battery Warning: Most smoke detectors emit a chirping sound when the battery is low. This is the most common cause of chirping.
- Dust or Debris: Accumulation of dust or debris in the smoke detector can interfere with its sensors and cause it to chirp.
- Malfunction: A chirping sound may also indicate a malfunction or the end of the smoke detector’s lifespan.
Resolve the Issue
- Replace the Battery:
- Open the Battery Cover: Follow the steps in Section 2 to open the battery cover and access the battery compartment.
- Remove and Replace the Battery: Take out the old battery and replace it with a new one. Ensure the new battery is properly installed and oriented according to the markings inside the compartment.
- Close the Battery Cover: Securely close the battery cover after replacing the battery.
- Clean the Smoke Detector:
- Turn Off Power (for Hardwired Alarms): If you have a hardwired smoke detector, turn off the power at the circuit breaker before cleaning.
- Use a Vacuum or Soft Brush: Gently vacuum or brush the smoke detector to remove dust and debris from the vents and sensors. This will help ensure the detector functions properly.
- Clean the Exterior: Wipe the exterior of the smoke detector with a dry cloth to remove any remaining dust.
- Check for Malfunctions:
- Test the Detector: After replacing the battery and cleaning, test the smoke detector by pressing the test button. If it continues to chirp or fail to sound the alarm, it may be faulty and need replacement.
- Inspect for Damage: Check the smoke detector for any visible signs of damage. If it appears damaged or is past its expiration date, it’s time to replace it.
Testing and Verification
- Test the Smoke Detector: Once you’ve replaced the battery and cleaned the device, press the test button to ensure it is working correctly. You should hear a loud alarm sound if the detector is functioning properly.
- Verify Installation: Ensure the smoke detector is securely mounted and that there are no gaps between the unit and the ceiling or wall.
Maintaining your smoke detector and addressing issues like chirping is a crucial part of interior home maintenance and preventative home maintenance. Regular upkeep ensures that your smoke detectors are always ready to provide protection. This task complements other important home maintenance activities such as gutter cleaning, pressure washing, window washing, and dryer vent cleaning, all contributing to a safe and well-maintained home environment.
How to Remove the Battery from a Smoke Alarm Still Chirping
If your smoke alarm continues to chirp even after you’ve replaced the battery, it might be necessary to remove the battery entirely to stop the noise. Here’s how to safely remove the battery from a smoke alarm that’s still chirping:
Silence the Alarm
- Press the Test/Silence Button: Most smoke alarms have a test or silence button that can temporarily silence the chirping. Press this button to stop the noise while you work on resolving the issue.
- Turn Off Power (for Hardwired Alarms): If you have a hardwired smoke alarm, turn off the power at the circuit breaker to prevent any electrical hazards while handling the device.
Open the Battery Compartment
- Locate the Battery Cover: Find the battery cover on your smoke alarm. This is usually on the back or side of the unit.
- Remove the Cover: Follow the steps from Section 2 to open the battery compartment. Depending on your smoke alarm model, you may need to slide, twist, or unclip the cover.
Remove the Battery
- Take Out the Battery: Gently remove the battery from the compartment. Ensure you handle it carefully to avoid damaging the smoke alarm.
- Check Battery Orientation: Make a note of the battery orientation (positive and negative terminals) to ensure correct reinstallation if needed.
Inspect the Smoke Alarm
- Examine the Battery Compartment: Check the battery compartment for any signs of corrosion or damage. Corrosion can occur from old batteries leaking, which might cause the alarm to malfunction.
- Clean if Necessary: If you see corrosion, clean the compartment gently with a dry cloth. Avoid using any liquid cleaners or getting the compartment wet.
Reinstall or Replace the Battery
- Insert a New Battery: If you plan to reinstall the battery, ensure it is a new, fresh battery. Place it in the compartment according to the correct orientation.
- Secure the Battery Cover: Once the battery is installed, reattach the battery cover by following the steps from Section 2.
Test the Smoke Alarm
- Turn the Power Back On: For hardwired alarms, turn the power back on at the circuit breaker.
- Press the Test Button: Test the smoke alarm by pressing the test button. The alarm should sound if it is functioning correctly.
- Verify the Silence of Chirping: Ensure that the chirping has stopped and that the smoke alarm is operating properly.
Consider Replacement
- Evaluate the Smoke Alarm: If the smoke alarm continues to chirp despite replacing the battery and cleaning the unit, it might be time for a replacement. Smoke alarms typically have a lifespan of 8-10 years, and a malfunctioning unit could indicate it’s at the end of its service life.
Proper maintenance of your smoke alarm, including addressing issues like chirping, is essential for interior home maintenance and preventative home maintenance. This ensures that your smoke alarms are always in good working condition and ready to alert you in case of a fire. Regular maintenance of your smoke alarms complements other important tasks like gutter cleaning, pressure washing, window washing, and dryer vent cleaning, all contributing to a safe and well-maintained home environment.
Maintaining your smoke alarm is essential for ensuring your home remains safe from potential fire hazards. Regularly changing the battery, addressing chirping issues, and keeping the unit clean are crucial steps in preserving the functionality of your smoke alarms. By following the steps outlined in this article, you can ensure that your smoke alarms are always ready to provide the protection you and your family need.
Effective smoke alarm maintenance is an integral part of interior home maintenance and preventative home maintenance. Just as you would tend to gutter cleaning, pressure washing, window washing, and dryer vent cleaning, keeping up with your smoke alarms is vital for maintaining a safe and well-functioning home environment.
At HomeSmiles, we understand the importance of comprehensive home care. Our team specializes in an extensive 18-point interior and exterior home maintenance service, taking care of all those “honey-do” items on your list. Let us handle the preventive maintenance so you can avoid costly repairs down the line.
Ready to ensure your home is in top shape? Contact HomeSmiles today to schedule your preventive maintenance service and keep your home safe and well-maintained.
Your home’s safety and maintenance are our top priorities. Let HomeSmiles provide you with peace of mind and exceptional service.
- Protecting Your Property: Why the Right Cleaning Method Makes All the Difference
- The #1 Thing That’s Dulling Your Curb Appeal (And How to Fix It)
- How Maintenance Bundles Provide Peace of Mind for Busy Small Business Owners and Facility Managers
- Essential vs. Complete Home Packages: Choosing the Right Preventive Care for Your Property
- How a Simplified Service Model Benefits Both Homeowners and Franchisees Alike


